
Using Sections
Sections allow you to structure your categories into different parts in the frontend. For example, you can create a section for your “Blog”, another section for your “API Reference” and another section for general “Documentation”. You are free to name your sections any way you need.
Managing sections
In the “General” workspace settings, find the “Sections” item and click “Add section” to create a section. If you already created a section, you can edit or delete it.
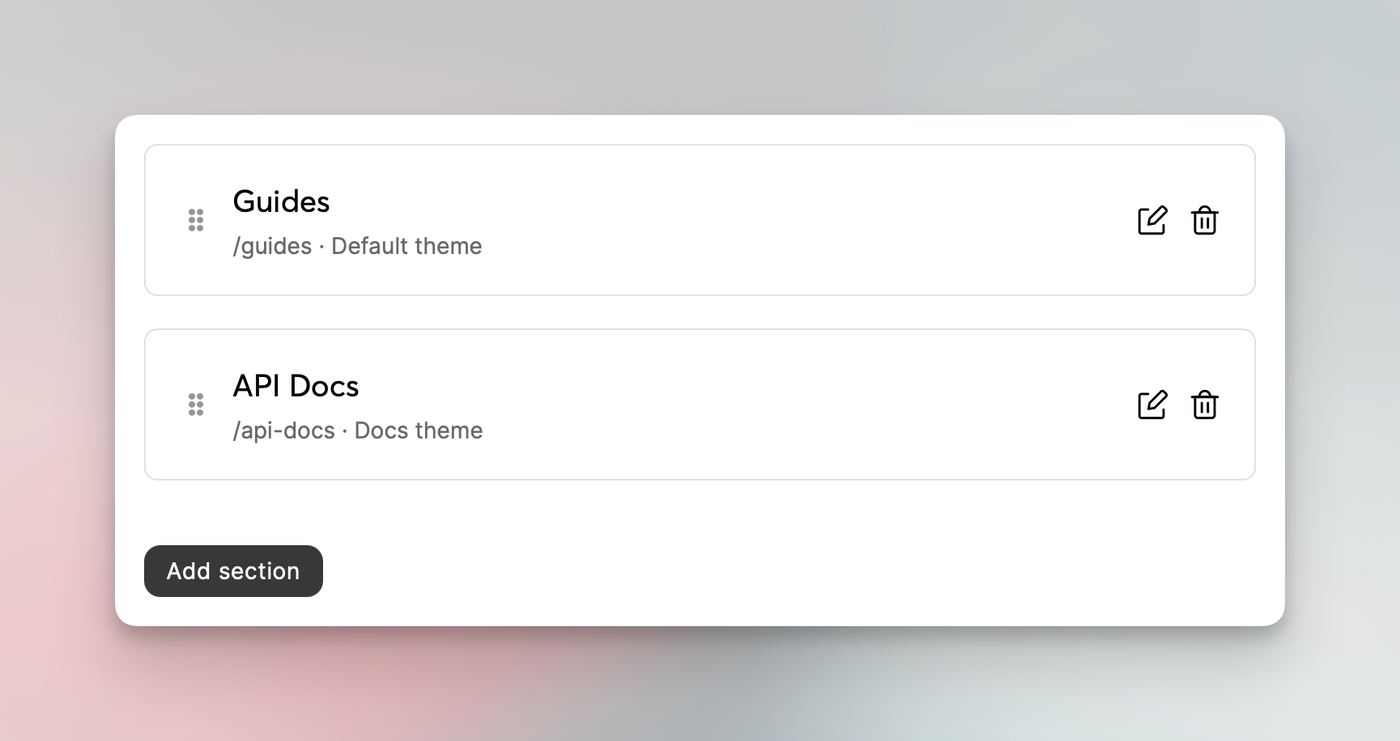
You can also change the order of the sections to determine how they should be shown in the frontend. Additionally, you can select a theme for each section individually, and also set a starting point. So, essentially, the “home” page of a section, which can be a category or article.
Assigning categories
After creating a section, you can assign categories to it. Those categories will then be visible in the selected section. Please note that a category can only be assigned to one section.
Simply head over to the category and open the “Settings” panel to select a section.
Once you create a section and assign categories to it, categories and articles without a section won’t appear anywhere but the search. If you decide to use sections, make sure to place all categories into their dedicated section.
Deleting a section
Deleting a section will remove any connection between your categories and the deleted section. Categories and their articles won’t be deleted. However, pay attention to the information box above if you’re “missing” your categories after deleting a section.